
Last updated October 17, 2026
 Architectural shingles
 Metal roofing
 Tile roofing
 GAF
GAF Owens Corning
 Flat & low-slope
Free roof inspection with deck photos before we talk money - GAF and Owens Corning certified installation
Roof Repair Maintenance Checklist for Miami Homeowners
The most common roof repair call we get in Miami isn’t storm damage. It’s a slow leak that started at a pipe boot or ridge cap six months before anyone noticed water staining the ceiling. By the time you see it inside, the decking underneath has been wet for weeks, and a $300 repair with our Roof Repair services has become a $4,800 replacement. This guide gives you a maintenance schedule built for Miami’s actual roof killers: UV oxidation, standing water, and hurricane-season stress cycles. You’ll learn what to check monthly, what to document for insurance, and where every Miami roof fails first.
Quick Answer
A Miami roof maintenance checklist should include monthly visual inspections of pipe boots, ridge caps, skylight seals, AC curbs, and parapet walls; a documented photo log of your roof’s condition; gutter and scupper cleaning before and during rainy season; and a professional inspection twice a year, timed around dry season hardening and pre-hurricane prep. Consistent documentation of these checks can strengthen a future insurance claim and, in some cases, lower your wind-mitigation score.
Styles & brands we work with
Table of Contents
- The Three Forces That Destroy Miami Roofs
- Month-by-Month Maintenance Schedule for Miami
- The Five UV Failure Points on Every Miami Roof
- How to Document Your Roof for Insurance Claims
- What to Check From the Ground vs. What Requires Setting Foot on the Roof
- Maintenance Records That Lower Your Wind-Mitigation Score
- Common Mistakes to Avoid
- When to Call a Professional
The Three Forces That Destroy Miami Roofs
Miami roofs don’t age the way roofs in Ohio or Georgia age. Our sun is closer to vertical for more of the year, our humidity keeps materials wet longer, and our storm season subjects every fastened component to repeated load cycles. Understanding these three forces changes what you look for during a maintenance check.
UV Oxidation. Miami gets roughly 3,154 hours of sunshine per year, and the UV index sits in the “extreme” range from April through September. That radiation breaks down the plasticizers in rubber pipe boots, the polymers in sealant, and the asphalt compounds that hold shingle granules in place. In our experience, a pipe boot in Miami lasts about eight years before the rubber collar stiffens and cracks at the base. The crack is usually invisible from the ground and leaks only during wind-driven rain.
Standing Water. Flat roofs are common across Miami, especially on mid-century homes in neighborhoods like Shenandoah, Silver Bluff, and the Upper East Side. When a flat roof’s slope isn’t maintained, or a scupper clogs with leaves and debris, water ponds. Ponding water that sits for more than 48 hours accelerates membrane degradation and finds every seam, patch, and penetration. On shingle roofs, standing water usually appears in valleys or behind clogged gutters, where it wicks under shingles and rots the decking.
Hurricane-Season Stress Cycles. A roof in Miami doesn’t just get hit once during a storm. The same fasteners, flashing points, and adhesive strips get stressed by wind gusts, then relaxed, then stressed again, over multiple storms and sometimes multiple seasons. The failure often shows up at the weakest point: a nail that backed out, a shingle lifted just enough to break the seal, a piece of flashing that shifted half an inch. Those small failures become the entry point for the next heavy rain.
Maintenance for a Miami roof isn’t about making it look clean. It’s about finding the fatigue points before the next storm finds them for you.
Month-by-Month Maintenance Schedule for Miami
A generic maintenance checklist tells you to check your roof twice a year. That misses the rhythm of Miami’s climate. Here’s a schedule that follows our actual seasons.
Dry Season Hardening: November through April
Dry season is the right time to make repairs, replace sealant, and reinforce anything that needs curing time. Most sealants and adhesives used on roofs require several days of dry weather to bond properly, and Miami’s winter months give you that window.
- November: Clean all gutters, scuppers, and downspouts after the leaves drop. Clear any debris from valleys and behind chimneys. This is also the month to schedule a professional inspection if you haven’t had one since summer.
- December: Inspect and reseal pipe boots, skylight edges, and AC curb seams. The cooler weather allows sealant to cure fully. Check for rusted flashing around chimneys and vents.
- January: Walk the perimeter of your home and photograph the roof from four angles. Look for lifted shingles, missing granules, and any visible sag. Update your photo log.
- February: Check attic ventilation. In Miami, attic temperatures in February can still hit the 90s on a sunny day. Blocked soffit vents or a failing ridge vent pushes heat and moisture against the decking, which breaks down your shingles from underneath.
- March: Examine your flat roof if you have one. Look for ponding spots marked by dried dirt rings or algae. Mark any area where water sits for more than 24 hours after a rain.
- April: Trim tree branches so nothing hangs within six feet of the roof. South Florida trees grow fast, and a branch rubbing against shingles during a storm will wear through them fast.
Pre-Hurricane Prep: May through June
- Early May: Schedule your pre-hurricane inspection. Every Miami roofer’s calendar fills up in late May, and you don’t want to be in the queue when a named storm is three days out.
- Mid-June: Re-check all gutter straps, fascia, and soffit. Loose metal components become projectiles in 100 mph winds. Confirm every screw and strap is tight.
- Late June: Update your photo log. Take dated photos from all four sides, plus close-ups of pipe boots, ridge caps, and any prior repair areas. Store them in a folder you can access from your phone.
Storm Season Monitoring: July through October
- July: After every heavy rain, check your ceiling for water stains. Not just the obvious rooms – check closets, garage ceilings, and the corners of rooms under valleys. A stain that appears in a closet is often the first sign of a leak at a pipe boot.
- August: Inspect the roof from the ground after any wind event over 40 mph. Look for lifted shingles, missing ridge cap pieces, or debris sitting on the roof.
- September: Peak hurricane month. Clean gutters and scuppers again, even if you did it in June. Tropical systems drop massive rain in short bursts, and a clogged scupper will send water over your roof edge and into your walls.
- October: Schedule a post-storm inspection if any named storm passed within 50 miles of Miami. Wind damage often doesn’t show up immediately; shingles that lost their seal may lift weeks later.
For a detailed look at pricing, see our Roofing Cost Breakdown: The Miami Homeowner’s Reference for 2026. Most standard roof repairs in Miami run between $350 and $900 depending on the location and materials needed. A maintenance issue caught early – a cracked pipe boot, a lifted shingle – usually stays on the low end. Waiting until water is inside your drywall pushes the job into much higher territory.
The Five UV Failure Points on Every Miami Roof
Sealant fails in the same places on almost every Miami roof. These five spots are where UV oxidation does its worst work, and they’re the first places we check on any maintenance visit. Here’s what each one is, why it fails, and what to look for.
1. Pipe Boots
A pipe boot is the rubber collar that seals the gap where a plumbing vent pipe comes through your roof. In Miami’s sun, the rubber cracks at the base where it meets the pipe – usually within six to eight years. From the ground, look for a pipe collar that appears dull gray or split instead of black. From inside the attic, look for water staining on the pipe or the decking around it. A failed pipe boot is the single most common source of small interior leaks in Miami homes.
2. Skylight Seals
Skylights have a metal frame with a rubber or silicone gasket between the frame and the glass. That gasket dries out and separates from repeated heat expansion. In Miami, a skylight seal typically fails at the corners first, where the gasket gets stretched. Look for haze between the glass panes (which means the seal has already failed) or visible cracks in the gasket material. A failed skylight seal doesn’t always leak water – sometimes it just lets in humidity, which turns into condensation and mold on the ceiling around the opening.
3. AC Curbs
The AC curb is the raised metal or wood frame your air conditioning unit sits on when it’s mounted on the roof. Miami homes run AC year-round, and the constant vibration plus UV exposure breaks the sealant joints where the curb meets the roof membrane. Check for cracked or peeling sealant around the curb base. If the sealant looks chalky and pulls away from the metal, water can enter during any rain, not just a storm.
4. Ridge Caps
Ridge caps are the shingle pieces that run along the peak of your roof where two slopes meet. They’re exposed to sun from both sides and take direct wind hits. Miami ridge caps often lose their adhesive strip years before the field shingles show wear. From the ground, look for ridge cap pieces that appear lifted, cracked, or missing. A single missing ridge cap piece exposes the nails underneath, and those nails are now a direct water path into your attic.
5. Parapet Walls
Parapet walls are the short walls that extend above the roofline on many Miami flat and low-slope roofs, especially on older homes in Coral Gables, Morningside, and Buena Vista. The wall cap – the metal or tile piece running along the top of the parapet – takes constant UV and thermal movement. The sealant under the cap fails, water gets behind the wall, and the leak shows up on the ceiling far from where the water entered. Look for cracks in the wall cap sealant or efflorescence (white mineral staining) on the interior side of the parapet wall.
All five of these failure points are visible during a ground-level inspection with binoculars, and all five can be photographed with a phone zoom. You don’t need to walk the roof to spot early warning signs.
How to Document Your Roof for Insurance Claims
When a storm damages your roof, your insurance adjuster will ask for proof of the roof’s condition before the storm. Most Miami homeowners can’t produce it. They have no photos, no maintenance records, and no way to prove the damage is new. The result is a claim that gets denied or a settlement that covers less than the actual repair cost.
Here’s a documentation system that takes 20 minutes twice a year and makes an insurance claim significantly easier to prove.
1. Set a Schedule
Photograph your roof on the same two dates every year: May 15 and November 15. The May photos document your pre-hurricane condition. The November photos document the post-season condition. Consistency matters because it shows a pattern of maintenance.
2. Use a Standard File Naming System
Save every photo with a name that includes the date, the location on the roof, and the direction you’re facing. For example: 2026-05-15_north-slope_pipe-boot-east.jpg. This naming system turns a folder of random images into a searchable record an adjuster can actually navigate.
3. Shoot the Same Angles Every Time
Stand in the same four spots around your home and shoot the same views. When the roof is the same angle every six months, a change is obvious. Include close-ups of all five UV failure points: pipe boots, skylights, AC curbs, ridge caps, and parapet walls.
4. Capture Metadata
Phone photos automatically record date and time, but make sure the location setting is on. Worn shingles, hairline cracks, and loose flashing don’t photograph well. The metadata proves when and where the photo was taken.
5. Keep Receipts and Work Orders
Every professional inspection, repair, or maintenance service you pay for should generate a document. Save those documents in the same folder as the photos. A repair receipt from three years ago that shows you fixed a pipe boot is evidence that you maintain the roof – and it tells the adjuster the current damage is new.
If you choose to work with a roofing company, ask about documentation before you sign anything. We include before-and-after photos with every repair we do in Miami, and our digital invoices are sent by text so you have a record you can’t lose. That’s part of the Crestview Roofing Co Miami home approach to roofing service, and it’s built into The Relay Visibility Guarantee.
What to Check From the Ground vs. What Requires Setting Foot on the Roof
Here’s where the maintenance conversation gets uncomfortable for many Miami homeowners. Walking on your roof is risky – not just because of the height, but because of what you can’t see from up there. Shingles that look fine can be hiding soft decking, and a wrong step on a weak spot sends you through the roof and onto whatever is below.
Our recommendation: do everything you can from the ground, and leave anything that involves setting foot on the roof to someone who does it for a living. That’s not a sales pitch. It’s the honest line between a homeowner’s maintenance responsibility and a professional’s job.
Safe to Check From the Ground
- Missing, lifted, or curling shingles using binoculars
- The condition of ridge caps and the shingle line along the eaves
- Pipe boots and skylight seals with a phone zoom lens
- Gutter condition, sagging, and clogs
- Debris sitting on the roof surface
- Visible rust or discoloration on flashing around chimneys and vents
- Algae or moss growth – common in Miami’s humidity
Requires Setting Foot on the Roof – Leave It to a Professional
- Feeling for soft decking that indicates a hidden leak
- Checking the sealant on AC curbs and flat roof penetrations up close
- Inspecting the underside of lifted shingles for nail pops
- Testing parapet wall caps that only look solid from below
- Walking a flat roof to find ponding spots that aren’t visible from the edge
- Any inspection on a roof with a slope steeper than 6:12
The liability line is real. A homeowner who falls off their roof and is injured isn’t covered by the roofing company’s insurance. We answer calls every week from Miami homeowners who went up to check something themselves and realized halfway across the roof that they shouldn’t have.
For the same reason, we don’t recommend walking your roof to check for damage after a storm. Post-storm conditions are the most dangerous: wet shingles are slick, loose ridge caps shift underfoot, and debris hides uneven surfaces. A professional inspection costs less than an emergency room visit.
Maintenance Records That Lower Your Wind-Mitigation Score
Most Miami homeowners know that a wind-mitigation inspection can reduce their insurance premium. What most don’t know is that the records you keep around roof maintenance can directly influence that inspection.
A wind-mitigation inspection evaluates your roof’s ability to resist wind uplift. The inspector looks at the roof covering, the deck attachment, the roof-to-wall connection, the secondary water resistance, and the roof shape. Several of those factors are affected by how well you’ve maintained the roof.
What Maintenance Records Help
- Secondary water resistance documentation: If your roof deck is covered with a sealed roof deck product, the inspector needs proof it was installed. A work order or invoice that lists the specific underlayment brand and type is exactly what the inspector needs. Without documentation, the inspector may mark the roof as having no secondary water resistance – even if it’s there.
- Repair receipts showing roof covering condition: An inspector who sees receipts for timely repairs will classify the roof covering as well-maintained, which supports the original construction classification.
- Photo evidence of roof-to-wall strapping: If you’ve ever had your roof opened for a repair, and the contractor took photos showing the strapping or clips, those photos can be submitted as evidence during the wind-mitigation inspection.
- Recover or replacement documentation: If your roof was re-covered or replaced, the permit and the contractor’s invoice showing the year, material, and fastening pattern are essential. The inspector uses those documents to assign the current roof covering classification, which has a direct impact on your premium.
How to Get Ready for Your Wind-Mitigation Inspection
- Create a folder with every roof-related document you have: permits, work orders, invoices, photos, and inspection reports.
- Ask your roofing contractor to include specific product names and fastening patterns on the invoice. A line that says “roof repair” tells the inspector nothing. A line that says “replaced 150 sq. ft. of GAF Timberline HDZ shingles with 6-nail fastening pattern” tells the inspector exactly what they need to know.
- If your roof was built with a sealed roof deck, ask the contractor to document that during any repair where the decking is exposed.
- Take photos during any repair that shows the deck, the underlayment, and the fasteners. Even phone photos work if the date and location are in the metadata.
This is one of the most overlooked benefits of keeping up with roof maintenance in Miami. The money you save on your insurance premium over three or four years can effectively pay for the maintenance itself.
If you’re scheduling a repair or an inspection, we recommend asking the contractor in advance what documentation you’ll receive. If the answer is vague, that’s a red flag. Ask specifically: will I get before-and-after photos? Will the invoice itemize materials and fastening patterns? Will it be digital or paper? Our Roof Repair in Miami service includes all of that – and it’s written into our contract before we start.
Common Mistakes to Avoid
- Ignoring small interior stains. A water stain the size of a coffee cup on your ceiling is not a paint problem. It means water is already inside your roof assembly. Waiting to address it turns a small sealant repair into decking replacement.
- Using generic sealant from the hardware store. Not every sealant bonds to every roof material. Using the wrong product on a Miami flat roof can actually trap moisture under the membrane and accelerate the failure you’re trying to fix. Use a sealant rated for the specific material and Miami’s UV exposure.
- Cleaning gutters only before hurricane season. Miami gets heavy rain in January and February too. A stubborn cold front can dump three inches of rain on a roof with clogged gutters just as easily as a summer storm can. Clean them at least three times a year.
- Walking on a flat roof to check for ponding. Flat roof membranes in Miami bake in the sun and can blister. Walking on a blister punctures it, and now you’ve created the leak you were looking for. Check for ponding from a ladder at the roof edge, or from a second-story window.
- Delaying a repair until after storm season. Every Miami roofer gets calls in June from homeowners who noticed a problem in February and waited. The damage doesn’t wait. A lifted shingle that could have been fixed for $200 becomes a water-damaged deck section that costs $3,000 after one heavy rain.
- Not keeping documentation. You maintain your roof, you pay for repairs, you do everything right – and then you can’t prove any of it to an adjuster after a storm. Your maintenance record is only as useful as your documentation of it.
- Assuming a new roof means no maintenance. A new roof in Miami still needs regular inspection. New shingles have sealant seams that can fail in the first year, especially if they were installed in hot weather. A roof is never zero-maintenance in this climate.
When to Call a Professional
Some things a homeowner can handle. Others should never be a DIY project. Call a professional roofing contractor when you see water staining on an interior ceiling or wall – that means the leak has already penetrated the roof assembly and you need someone who can trace the water back to its entry point, which is rarely directly above the stain. Call when you spot lifting or missing shingles after a wind event, because the damage underneath may be worse than what’s visible. Call when your flat roof is ponding water. Call when you see sagging anywhere in the roofline. And call after any named storm passes within 50 miles of Miami, even if everything looks fine from the ground.
Crestview Roofing Co Miami offers free estimates throughout Miami – call (850) 318-3769 to schedule yours. We’ll send a written price before any work starts, and you’ll know exactly who’s arriving and when.
See the difference
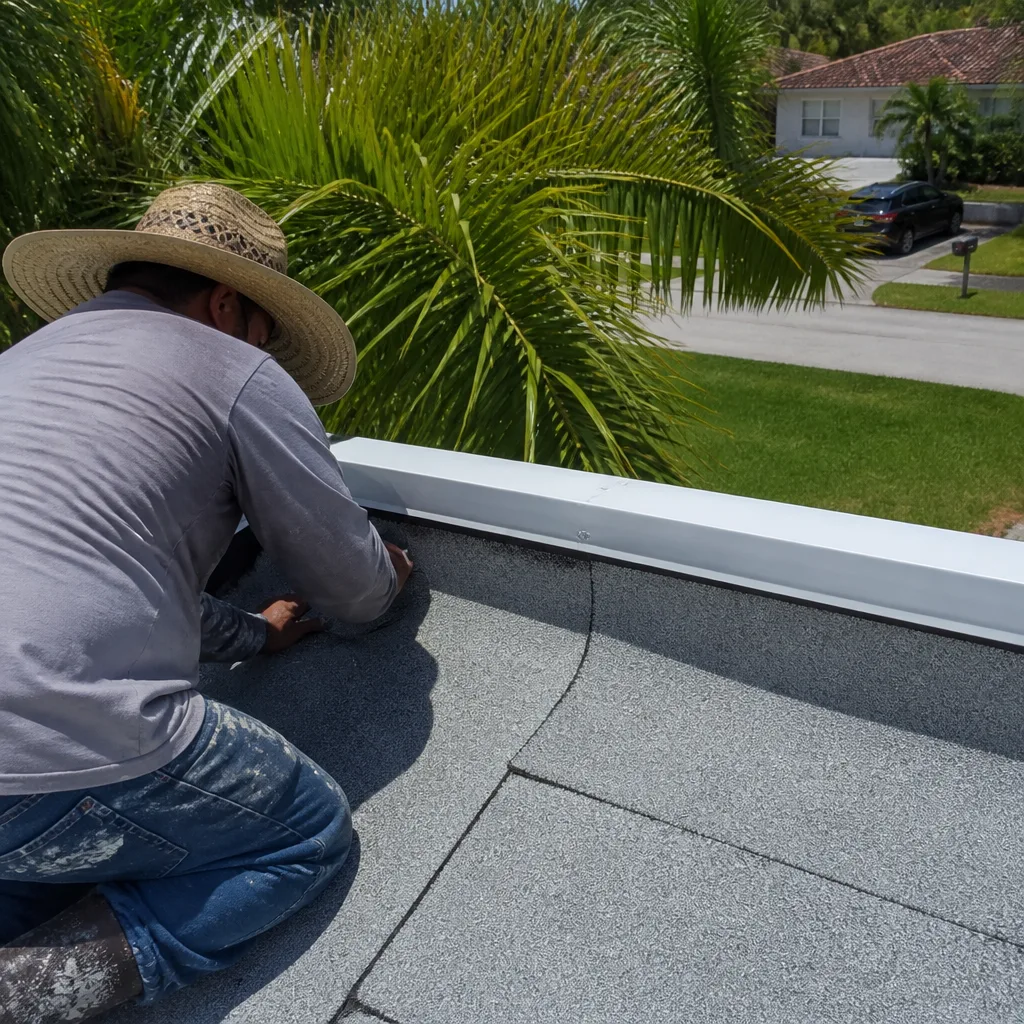
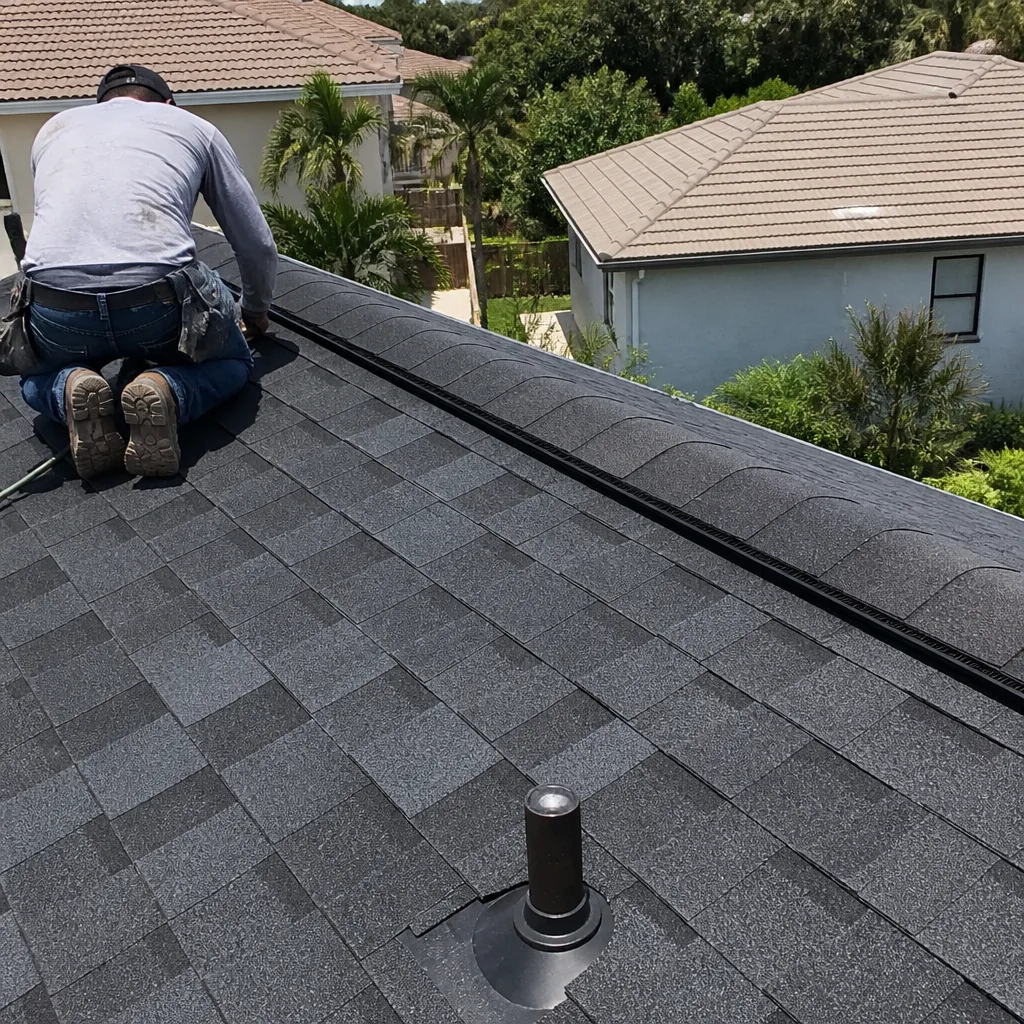
 Before
 After
After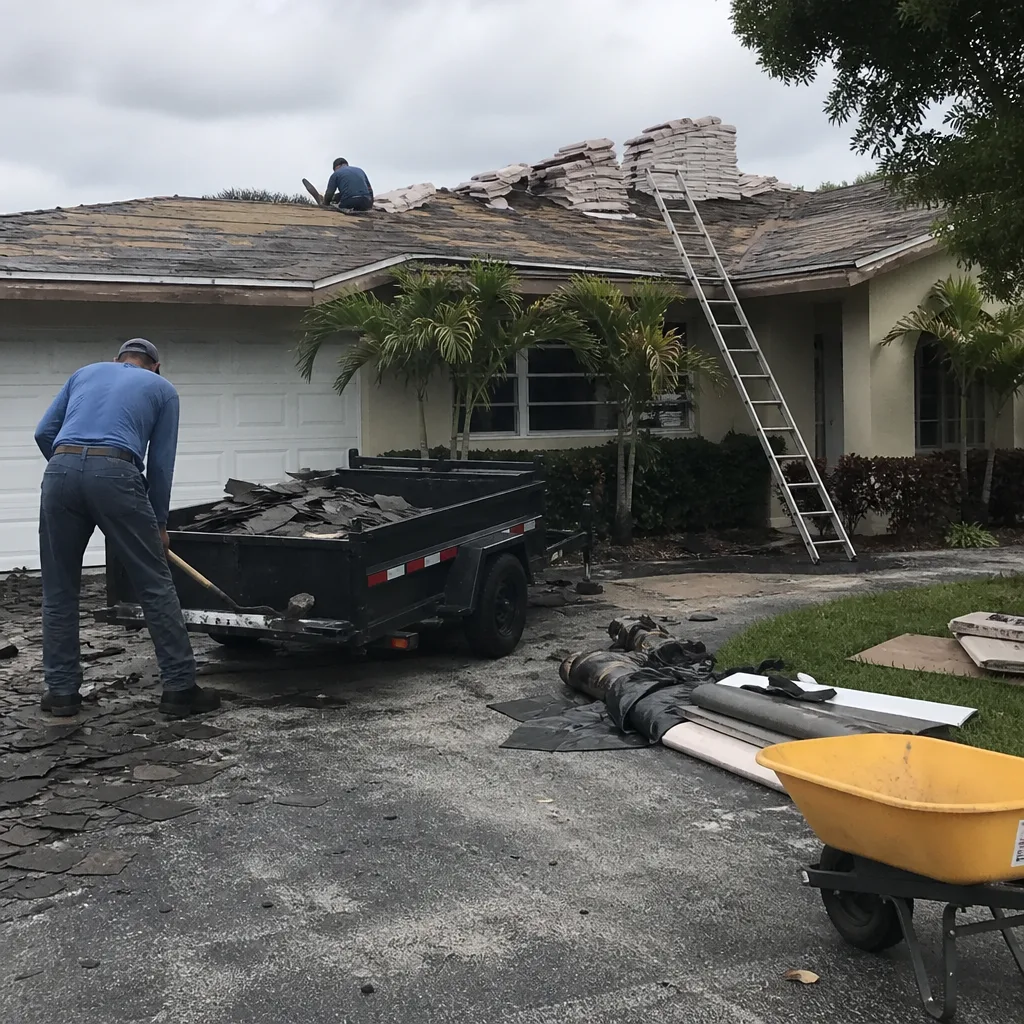 Before
 After
After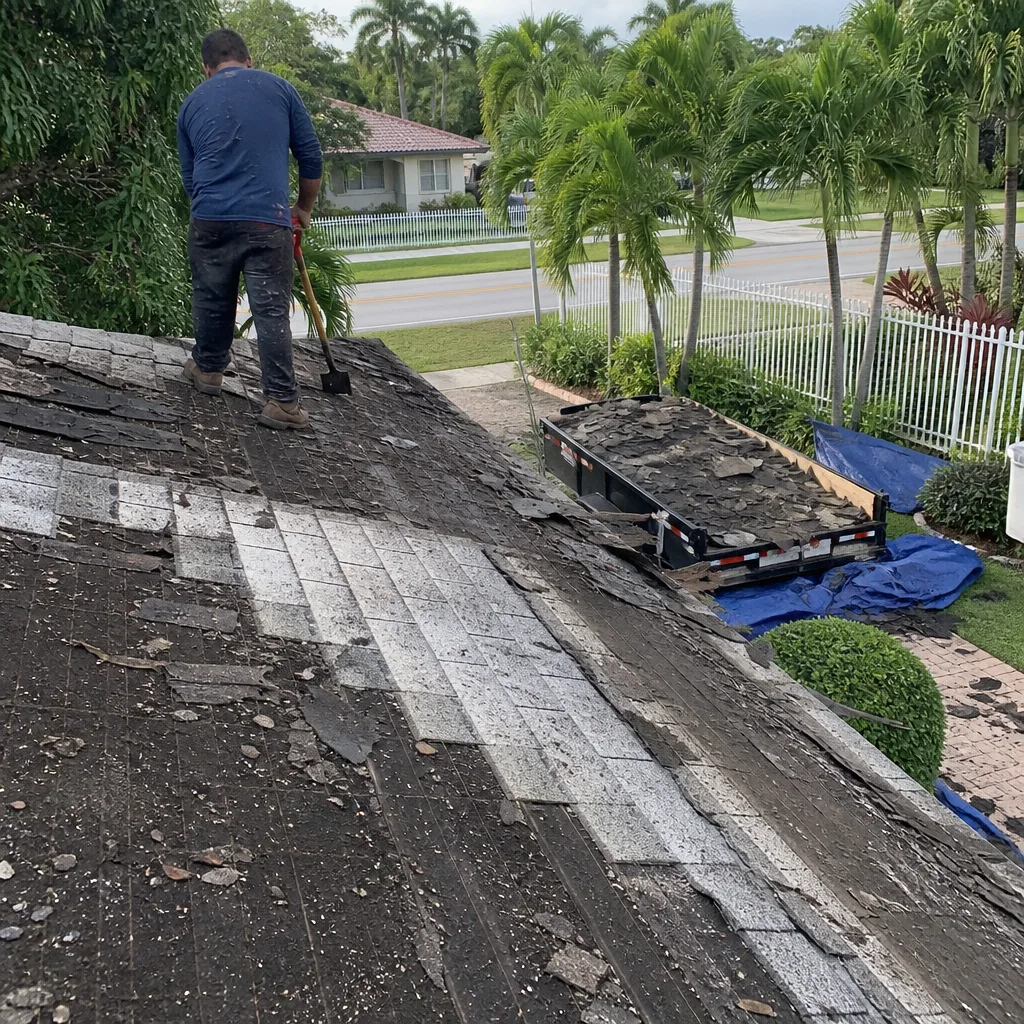 Before
 After
AfterFrequently Asked Questions
At minimum, Miami homeowners should inspect their roof from the ground once a month and schedule a professional inspection twice a year: once in April or early May before hurricane season, and once in late October or November after the season ends. Monthly ground checks catch debris, lifted shingles, and visible failures early, while the professional inspections catch the problems you can’t see from the ground.
Standard roof maintenance in Miami typically runs $180 to $450 for a professional inspection and basic upkeep like cleanings, sealant touch-ups, or minor shingle replacement. Repairs are priced separately based on what the inspection finds; most standard repairs in Miami run $350 to $900. The cheapest maintenance is a monthly ground-level self-check that costs you nothing but time.
Not if you work with a contractor who puts the price in writing before work begins. At Crestview Roofing Co Miami, the number on the written estimate is the number on the final invoice – no change orders, no surprise line items, no “we found more damage” phone calls that triple the cost. That guarantee is part of The Relay Visibility Guarantee and it’s in writing on every job.
Routine maintenance like cleaning gutters, checking sealant, and tightening loose components doesn’t require a permit. However, Roofing Permits, Codes & Inspections in FL: What You Need to Know explains that Miami-Dade County requires permits for structural repairs, roof deck replacement, and full roof replacements. A reputable contractor will tell you upfront whether your job needs a permit and who pulls it. At Crestview Roofing Co Miami, permits are handled as part of the job when they’re required, and every inspection pass is documented.
A small repair like a cracked pipe boot or lifted shingle usually takes one to two hours on site. Larger repairs involving decking replacement or flashing reconstruction can take a full day. Before we start any job, we provide an arrival window with a live trackable arrival time so you’re not waiting through a four-hour window, and the work is documented with before-and-after photos.
Yes, from the ground, with binoculars. Look for lifted shingles, missing ridge caps, debris, and any exposed fasteners. Do not walk on the roof after a storm. Wet shingles are slippery, and hidden deck damage can give way. If you see anything concerning, call (850) 318-3769 and we’ll send someone out – a post-storm inspection gives you documentation for an insurance claim if you need it.
The Bottom Line
A maintenance checklist built for generic climates won’t work in Miami. For more guides & resources, explore our blog. Our roofs fail from UV oxidation, standing water, and repeated storm stress – and the failures show up in predictable places first: pipe boots, skylights, AC curbs, ridge caps, and parapet walls. Check those spots monthly from the ground with binoculars. Document everything on a schedule you keep. Handle dry-season hardening in November and get a professional inspection before June. Keep your records organized because they’re worth real money at wind-mitigation inspection time. And when something’s wrong, call a roofer who puts the price in writing before the work starts.
Roof Replacement in Miami | Roof Installation in Miami
Written by Dylan Pace, Owner at Crestview Roofing Co Miami, serving Miami since 2000.